The story and science behind the dish · recipe above ↑
Salted Peanut Caramel Apples: Sugar Thermometer Stages, Wax Removal & Why Cream Caramel Clings
Anyone who has tried dipping a store-bought apple into hot caramel only to watch the entire coating slide off into a puddle on the parchment paper has met the number-one hidden trap of homemade caramel apples: food-grade fruit wax and condensation. Commercial apples are sprayed with a microscopic layer of carnauba or shellac wax to prevent moisture loss in storage, and molten caramel cannot bond to a waxy or damp skin.
Making bakery-grade salted peanut caramel apples at home requires three practical confectionery steps that a thirty-second video cannot show on its own: stripping the surface wax in a five-second hot water dip, cooking a divided-cream caramel to the exact firm-ball stage of 116–118°C (240–245°F), and resting the pot off the heat until the caramel cools to about 88°C (190°F) so it wraps the chilled fruit in a thick, chewy blanket rather than running thin.
How did the American cream caramel apple evolve from red candy apples?
The stick-mounted autumn apple began in 1908 as the hard-crack red cinnamon candy apple invented by Newark confectioner William W. Kolb, documented in the history of the candy apple. Four decades later, in the 1950s, Kraft Foods sales representative Dan Walker experimented with melting leftover Halloween caramel candies with a splash of water and dipping crisp autumn apples inside—a home-kitchen method that quickly became a staple across American orchards and state fairs.
While melted wrapped candies rely on hydrogenated palm oils and soy lecithin to stay firm on the fruit, an authentic stovetop dairy caramel uses real heavy cream, butter, granulated sucrose, and light corn syrup. When cooked to the proper thermometer reading, homemade dairy caramel offers a deep toasted-milk richness via the Maillard reaction between milk proteins and reducing sugars—as opposed to the sharp burnt-sugar bitterness of dry caramelization alone.
Why must you strip the wax and control both the cooking and dipping temperatures?
Success with from-scratch caramel apples comes down to four measurable physical variables in your kitchen:
- Stripping Commercial Wax: Dipping each Granny Smith apple into just-boiled water for 5 seconds softens the protective grocery-store wax so a clean kitchen towel can rub it completely off the skin. Chilling the scrubbed, bone-dry apples for 15 minutes afterward helps set the warm caramel on contact—just remember to wipe away any refrigerator condensation right before dipping.
- Preventing Sugar Crystallization with Corn Syrup: Light corn syrup supplies long glucose chains that wedge between sucrose molecules as water boils away, preventing a grainy, crystallized fudge texture while giving the finished caramel its signature smooth chew.
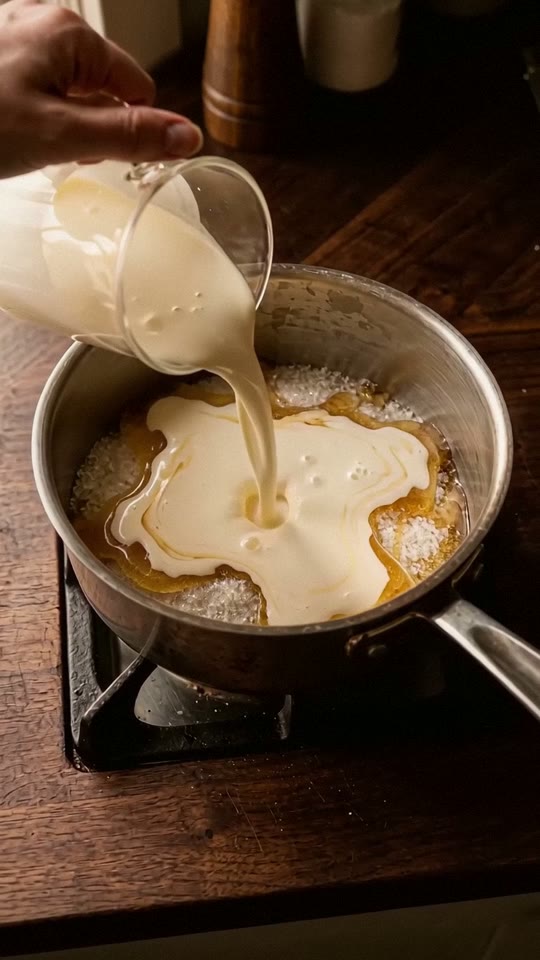
- Gradual Cream Addition: Pouring cold cream all at once into boiling sugar drops the pan temperature and can curdle the dairy solids. Adding the second half of the heavy cream in a slow stream keeps the pot at a steady boil and promotes smooth emulsification.
- The 116–118°C Cook vs. 88°C Dip Window: At 116–118°C (240–245°F, the firm end of the soft-ball stage), enough water has evaporated for the caramel to hold its shape on a vertical curved apple without slumping, while remaining soft enough to bite cleanly. However, dipping at 118°C is far too fluid—letting the finished caramel cool off the heat for 10 minutes to roughly 88°C (190°F) increases its viscosity so a single turn coats the apple evenly.
How do sugar cooking stages affect the texture of caramel apples?
Using a digital instant-read or clip-on candy thermometer takes all the guesswork out of stovetop caramel:
| Temperature Range | Confectionery Stage | Resulting Texture on the Apple | Best Culinary Use |
|---|---|---|---|
| 112–115°C (234–240°F) | Soft-Ball Stage | Very soft; slowly slides down the sides of the apple into a wide foot | Spoonable caramel sauce or filled chocolates |
| 116–118°C (240–245°F) | Firm Soft-Ball Stage | Chewy, toothsome, and clings cleanly to the vertical apple shoulder | Ideal target for Salted Peanut Caramel Apples |
| 120–125°C (248–257°F) | Firm-Ball to Hard-Ball | Stiff and taffy-like; pulls fillings when bitten cold | Individually wrapped firm cut caramels |
| 149–154°C (300–310°F) | Hard-Crack Stage | Brittle glass shell that shatters when tapped | Classic red cinnamon candy apples or nut brittle |
Why are tart green apples and roasted salted peanuts the classic pairing?
A thick coat of butter-and-cream caramel is intensely sweet and rich. If wrapped around a mealy, sweet red apple variety, the dessert quickly tastes cloying. Firm, high-acid varieties like Granny Smith or crisp Honeycrisp provide a bracing malic-acid snap and juicy crunch that cuts straight through the buttery caramel.
Rolling the lower half of the freshly dipped apple in coarsely chopped roasted peanuts and finishing with flaky sea salt serves two purposes at once: the salty, savory crunch balances the sweet dairy caramel on the palate, and the bed of chopped nuts acts as non-stick structural feet that keep the tacky caramel base from fusing to the parchment tray while setting.
How do you make Salted Peanut Caramel Apples step by step?
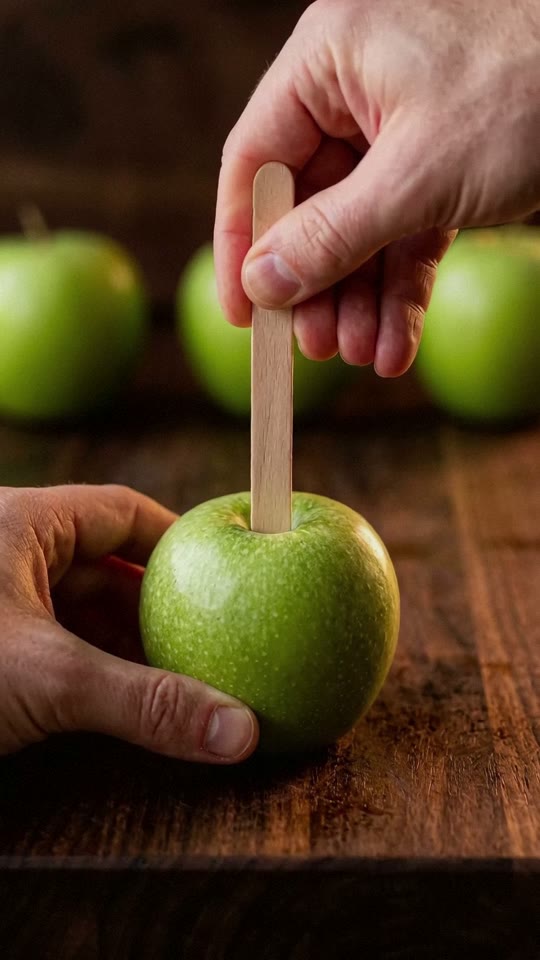
- Remove the Wax so the Caramel Clings: Dip each apple in just-boiled water for 5 seconds, rub dry with a clean towel, and dry completely. Twist off the stems, push a flat wooden stick about 2.5 cm into each stem end, and chill the apples for 15 minutes (wipe off any surface moisture before dipping).
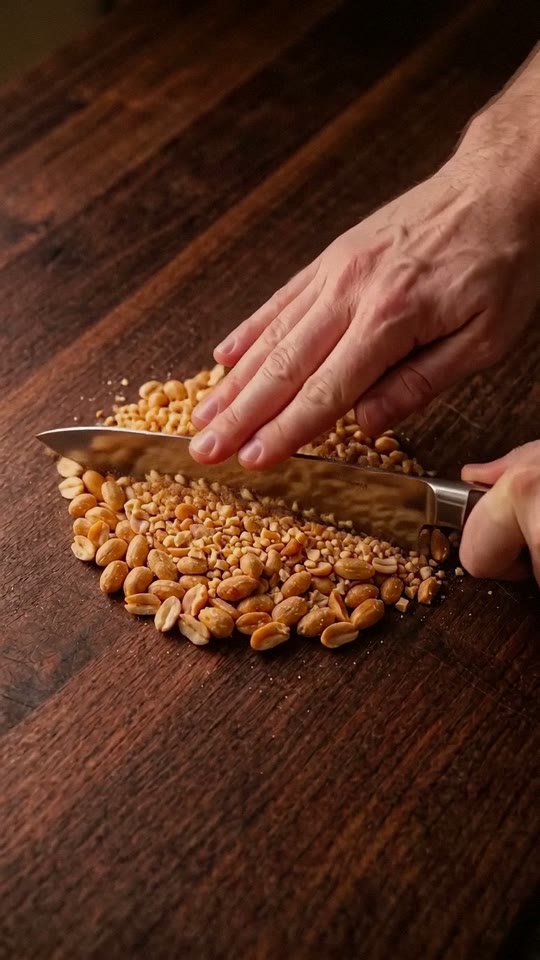
- Prep the Peanuts & Parchment: Chop the 120g roasted salted peanuts coarsely and spread them in a wide shallow bowl. Line a baking sheet with parchment paper.
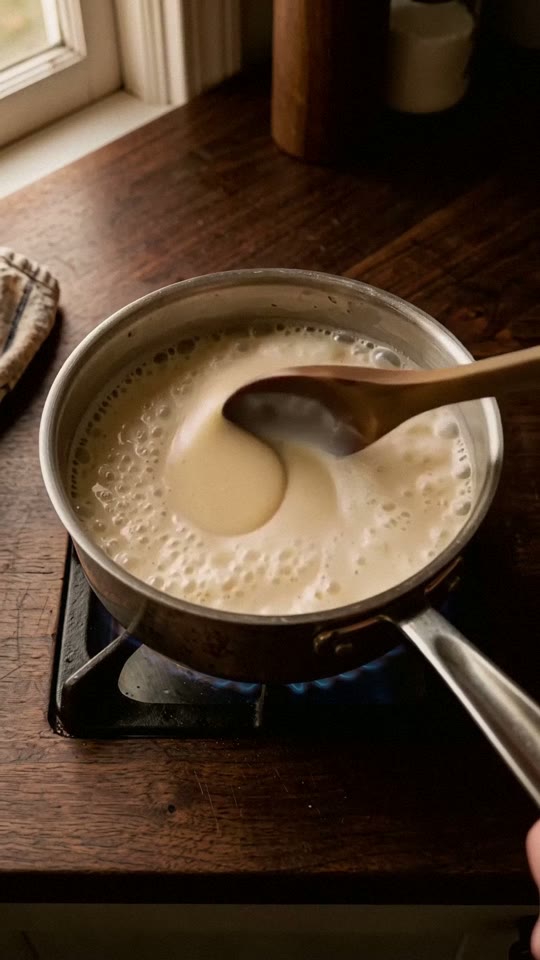
- Dissolve the Sugar Base: In a heavy 2-litre saucepan, stir the 150g granulated sugar, 120ml light corn syrup, and 120ml of the heavy cream over medium heat until the sugar dissolves completely.
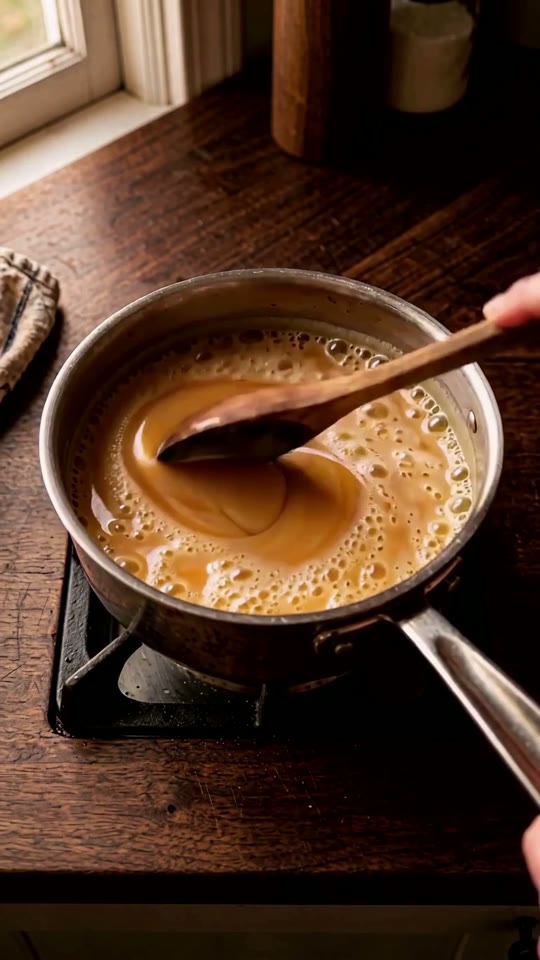
- Boil to 116–118°C (240–245°F): Bring to a boil and add the remaining 120ml heavy cream a little at a time so the boil never stops. Cook over medium heat, stirring slowly across the bottom of the pan with a heatproof spatula so the milk solids do not scorch, until a thermometer reads 116–118°C (240–245°F) and the caramel turns deep golden-amber, about 15 to 20 minutes.
- Finish with Butter & Cool to Dipping Viscosity: Take the pan off the heat and stir in the 30g unsalted butter, 1 tsp vanilla extract, and 1/2 tsp fine sea salt until glossy. Let the caramel cool undisturbed for about 10 minutes until the bubbles subside and it falls from the spoon in thick ribbons (about 88°C / 190°F).
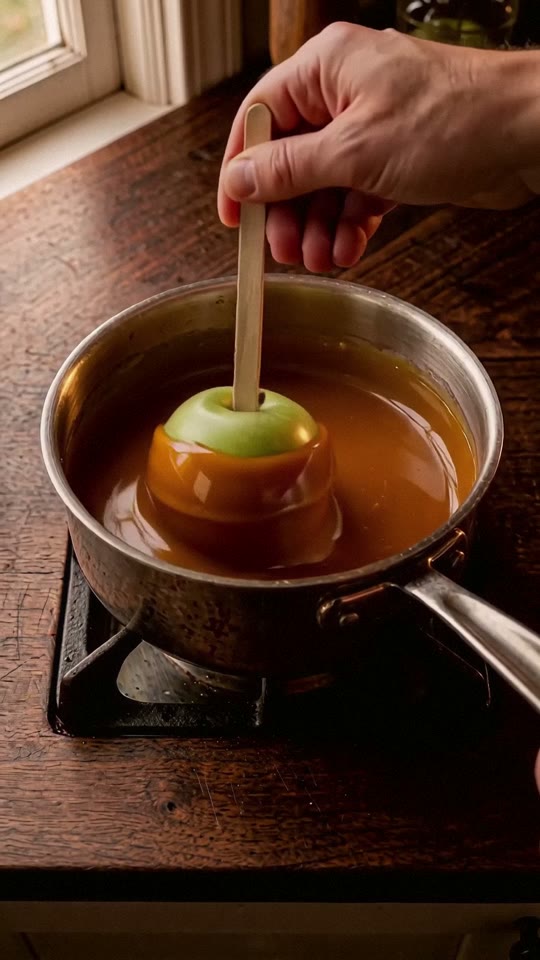
- Dip & Scrape the Base: Hold a dry chilled apple by its wooden stick, tilt the saucepan to pool the deep caramel, submerge the apple up to the top shoulder, and twirl once. Lift straight up, let excess caramel drip back into the pot for 4 to 5 seconds, and scrape the bottom of the apple against the rim of the pan.
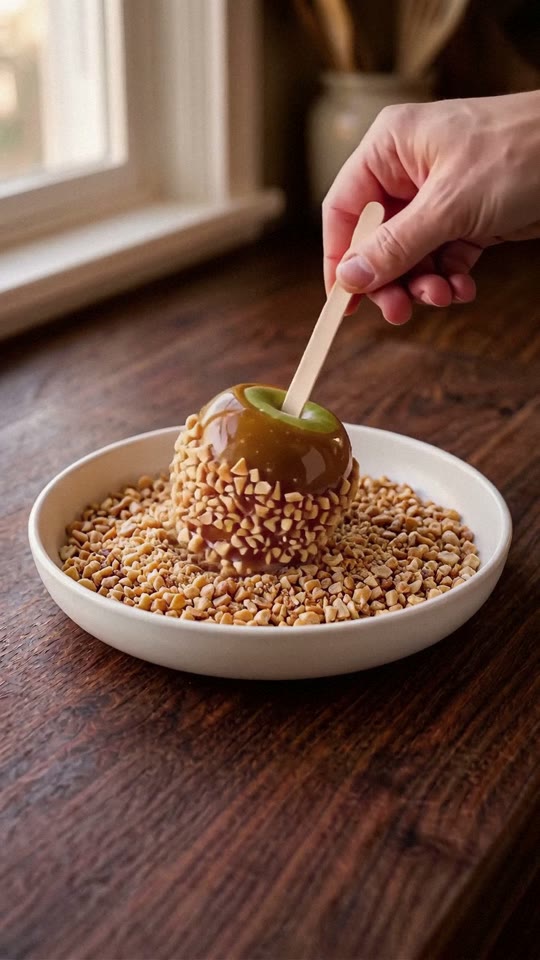
- Roll in Peanuts & Set: While the caramel is still warm and tacky, roll the lower half of the apple firmly through the bowl of chopped roasted peanuts, sprinkle with a pinch of flaky sea salt, and stand upright on the parchment-lined sheet. Repeat with the remaining apples and let set for 30 minutes (chill briefly in the fridge for 15 minutes if your kitchen is warm).
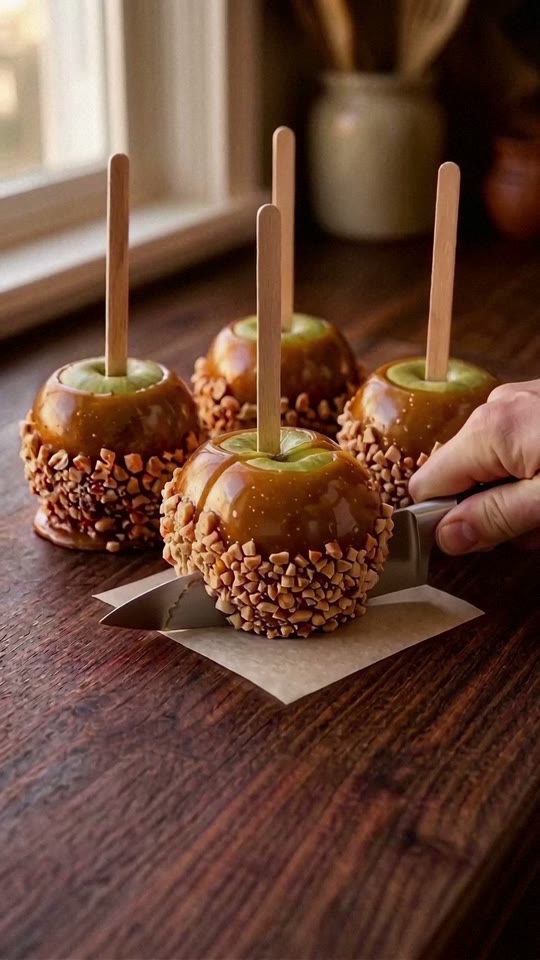
- Slice into Wedges to Serve: To serve cleanly, place the apple on a cutting board and slice thick vertical wedges downward alongside the wooden stick (never try to cut through the core and stick).
Frequently asked questions
Why did my caramel slide off the apples after dipping?
Caramel slips off for one of three reasons: the grocery-store wax was not scrubbed off with hot water, condensation formed on the chilled apples after coming out of the fridge, or the caramel was dipped while still above 100°C (212°F) before thickening to ~88°C (190°F). Always blot chilled apples bone-dry with a paper towel right before dipping.
What if my caramel cools and gets too thick before I finish dipping all four apples?
Simply set the saucepan back over low heat for 60 to 90 seconds, stirring gently until the caramel loosens back to around 88°C (190°F) and ribbons smoothly off a spoon.
Can I make caramel apples without a candy thermometer?
A digital thermometer is strongly recommended because a 3°C difference changes the texture from runny sauce to chewy caramel. In a pinch, use the cold-water test: drop half a teaspoon of boiling caramel into a cup of ice water; at 116–118°C, it will roll between your fingers into a firm, pliable ball that holds its shape when lifted out of the water.
How long do homemade salted peanut caramel apples keep?
Stored in the refrigerator on parchment paper (uncovered or loosely tented so condensation does not pool), homemade caramel apples keep well for up to 3 days. Let them sit at room temperature for 10 to 15 minutes before slicing into wedges so the caramel softens to an ideal chew.
Watch the short film
Browse the complete recipe collection, send a recipe request, and follow our kitchen series on YouTube, Instagram, and TikTok.
AI-created visuals. Culinary inspiration, not a complete cooking guide.